Maintenance & Prevention
How to Clean a Liebherr Fridge — Inside, Behind, and the Part That Matters Most
Do it in the order that matters rather than the order that shows. First the condenser and the airflow around it, because Liebherr names ventilation first in its own troubleshooting rows for both a motor running too long and a cabinet that is not cold enough — and in a salt-air city a condenser fills faster than any manual assumes. Second the defrost drain, a small hole at the base of the rear wall inside the fridge compartment, cleared with a cup of warm water poured slowly. Third the door seals, with warm soapy water worked into the fold and then dried, followed by the paper test on all four sides. Fourth, and only fourth, the interior: warm water and a mild detergent, shelves washed out of the cabinet, and nothing abrasive on the liner. What to keep away from all of it: bleach, strong vinegar and solvent cleaners, which harden the rubber seals and can damage the liner. The whole routine is under an hour and three of its four steps are the ones that protect the compressor.
The full guide
Start where the manufacturer starts
Liebherr fridge how to clean has an obvious answer and a better one, and they are not the same.
Liebherr's own troubleshooting table has six rows. Two of them — motor seems to run too long and the temperature is not cold enough — begin with ventilation.
That is the maker telling you where a refrigerator's real problems come from, and it is nowhere near the shelves.
1. The condenser and the air around it
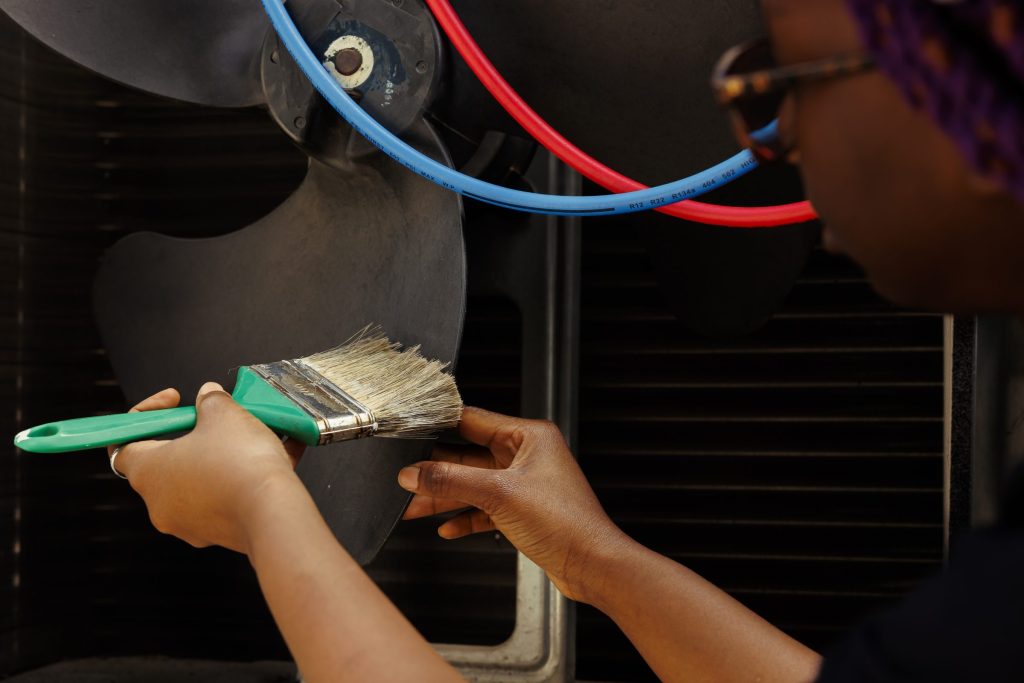
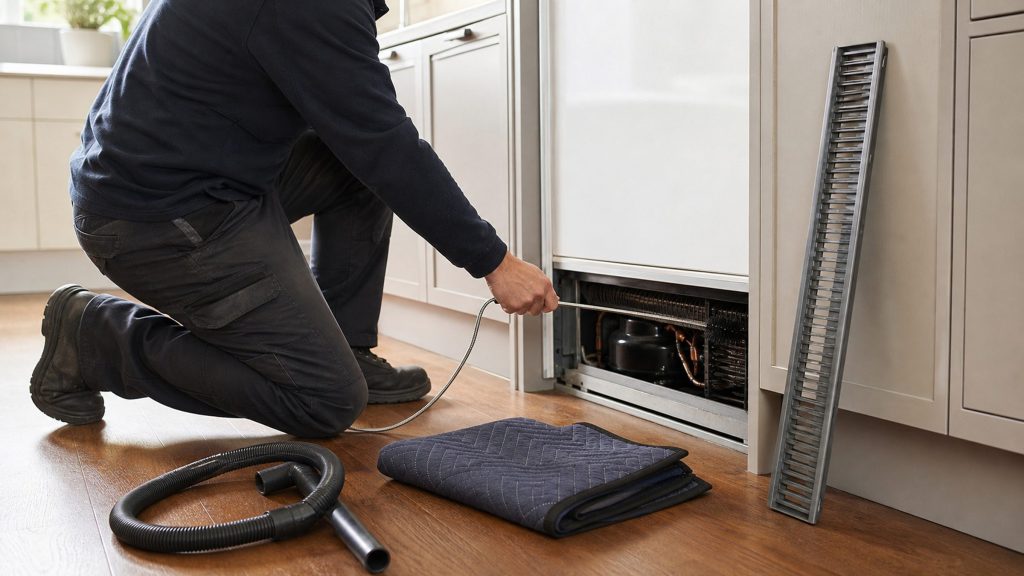
The condenser sheds the heat the appliance takes out of the food. Packed with dust it is insulated, which is the exact opposite of its job, and the compressor runs longer to compensate.
- Freestanding cabinet: a grille, usually at the back or beneath.
- Fully integrated column: behind a panel and behind your own cabinet front, which is why this is a service visit on those rather than a chore.
While you are there, look at the clearances. A cabinet pushed further back than it should be, a plinth that now blocks the airflow, a heat source that arrived after the kitchen did — all of these are named in the manual and none of them is a part.
In a salt-air city this is the single highest-value thing on the page.
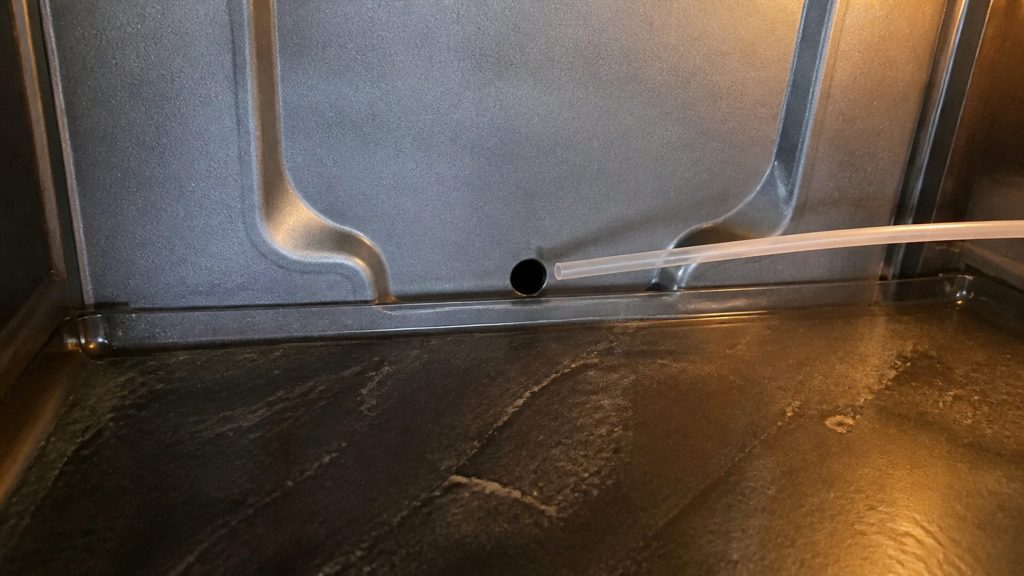
2. The defrost drain
Small hole at the base of the rear wall inside the refrigerator compartment.
Pour a cup of warm water into it, slowly. If it runs away, done. If it backs up, something soft and flexible clears it — never wire, which punctures the tube.
This is where the "completely normal" rear-wall condensation is supposed to go. When it cannot, it stays in your cabinet.
3. The seals
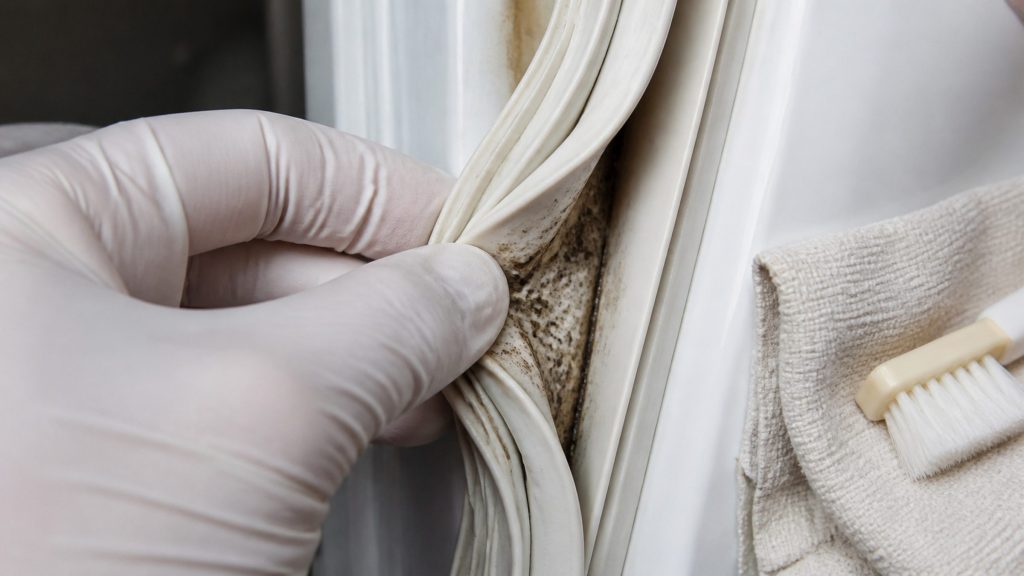
Warm soapy water, a soft cloth, into the fold. Then dry them.
Then the test: close the door on a sheet of paper and pull. It should drag, at six points around each door, corners included.
Keep away from the rubber: bleach, strong vinegar and solvent cleaners. They all harden it, and a hardened seal is a seal that no longer grips.
4. The interior
Now the part everybody starts with.
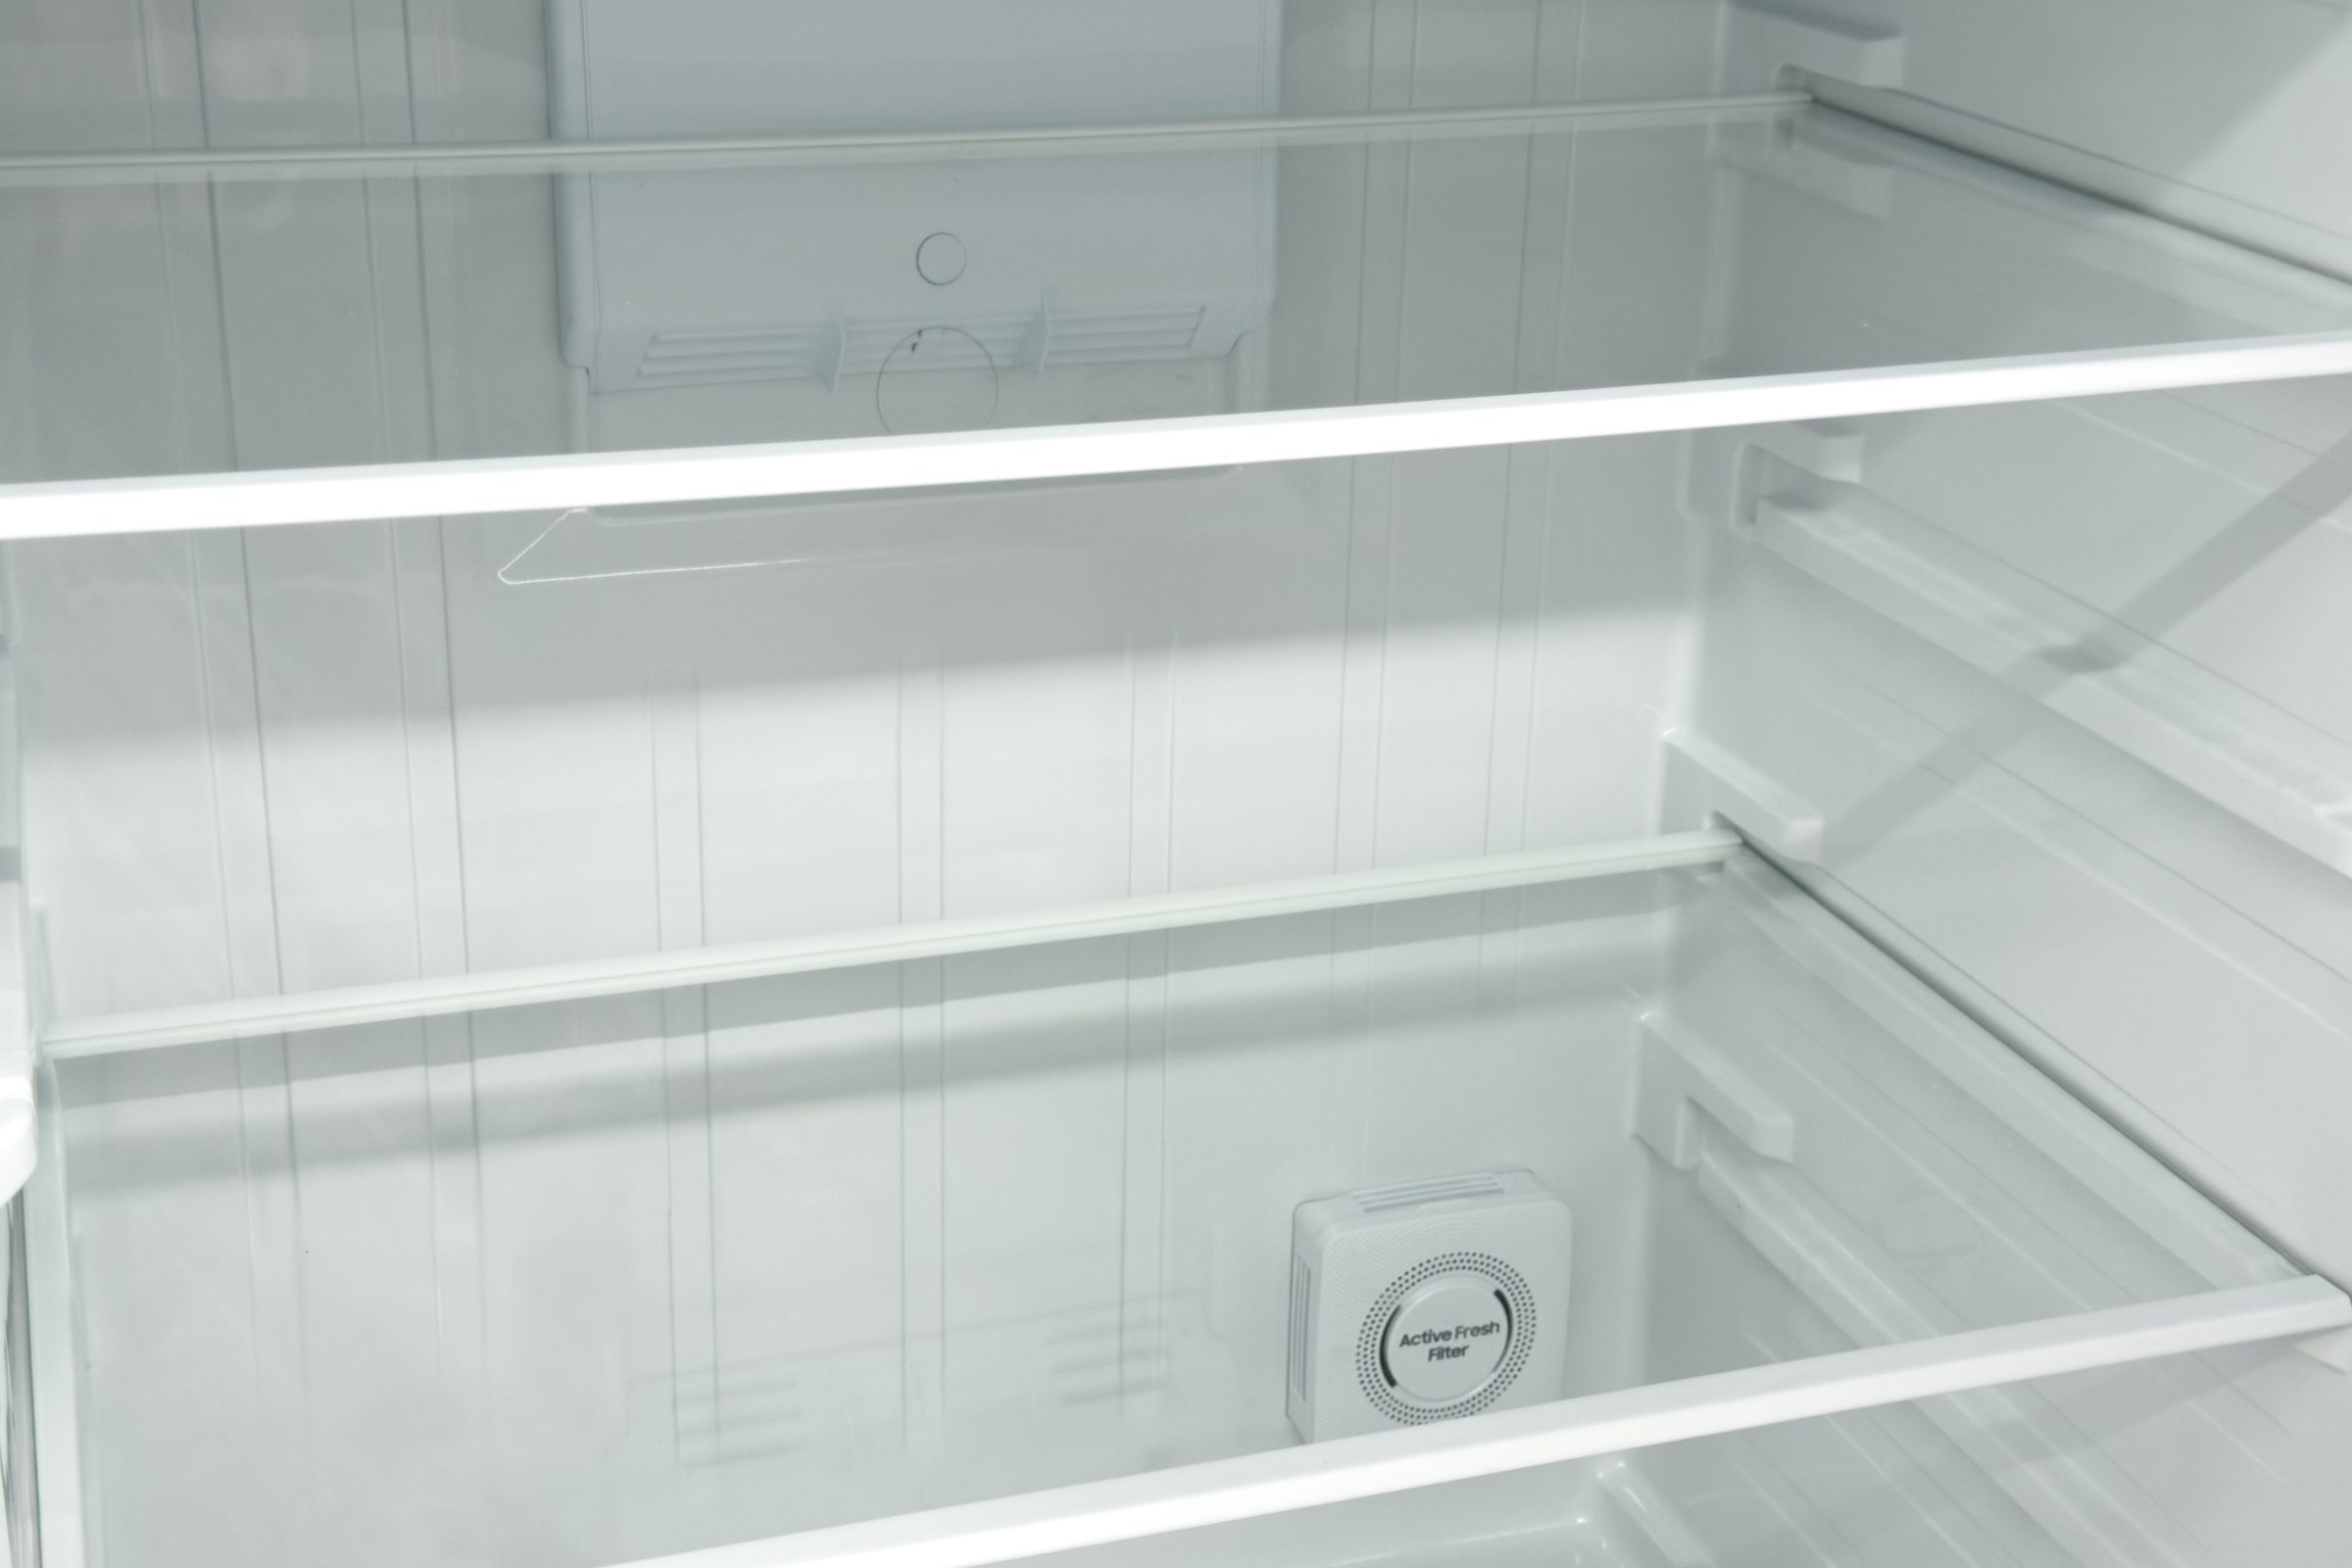
Warm water and a mild detergent. Shelves and drawers out and washed separately. Nothing abrasive on the liner.
Dry it. Leave the doors open for a few minutes if you can.
The whole routine
Under an hour, once a year, and three of the four steps are the ones that protect the compressor rather than the ones that make it look nice.
What not to use, and why it matters more on this equipment
Two habits do more damage than dirt. Bleach on a door seal hardens the rubber, and a hard seal stops gripping — which costs temperature stability, then costs a gasket. Anything abrasive on a stainless front leaves a direction in the finish that never goes away, and on a paneled column the same is true of your own cabinetry, which is joinery rather than an appliance and was never specified for kitchen chemicals.
Warm water and a soft cloth do the whole job on the inside. A vacuum with a brush head does the condenser. Nothing rigid ever goes into the drain hole.
The other thing worth saying is when not to clean: a cabinet that is behaving badly should be looked at before it is cleaned, not after. Wiping a seal, clearing a drain and vacuuming a condenser all change the symptom without changing the cause, and a technician arriving after all three has lost the evidence. Clean on a schedule; call on a symptom.
If it turns out to be a repair
What this leads to, and what it costs
Every job on this site is priced the same way: an on-site diagnostic first, the figure agreed in writing before anybody starts.
-
from $145 Condenser and airflow service
The maker names ventilation first among the causes for both "motor seems to run too long" and "the temperature is not cold enough". In South Florida a condenser fills faster than anywhere else in the country, and this is the least expensive visit on this page.
- Named first by the maker for two of its own symptoms
- Labor and access rather than parts
- The visit that prevents the expensive ones
-
from $135 Appliance maintenance visit
On cold-only equipment maintenance is a short and specific list, and it is the visit that prevents most of the expensive rows on this page.
- Condenser, seals, drainage, alignment, temperature
- Second appliance on the same visit costs much less
- Findings written down rather than announced

Questions people ask about this
What should I not use inside a fridge?
Bleach, strong vinegar, solvent cleaners and anything abrasive. The first three harden the door seals over time and can damage the liner; the fourth scratches it. Warm water and a mild detergent do everything that actually needs doing.
How often should I clean the condenser?
Once a year on ordinary equipment here, and twice is not excessive in a kitchen near the water or one that opens to the outside. It is the cheapest thing you can do for the most expensive component in the appliance.
Do I need to switch it off?
For the interior and the seals, no. For anything behind a panel or at the back, yes — switch off at the breaker rather than just at the control, and if the cabinet is a fully integrated column, that access is planned work rather than a Saturday job.
How do I get the smell out?
Find what is causing it first, because a smell that survives cleaning usually lives in the drain or under a crisper. Warm soapy water everywhere, an open box of baking soda afterwards, and a drain that runs freely will deal with almost all of them.
Maintenance & Prevention
More guides like this one
-
How to Clean a Refrigerator Door Seal, and the Paper Test That Follows
Cleaning a gasket is the easy half. The half that tells you whether it still works takes ten seconds and a sheet of paper.
Read more -
How to Clean a Refrigerator Drain Hole Without Damaging Anything
The water on your rear wall is supposed to be there. It is supposed to leave, too — and when it stops leaving, normal becomes a puddle in the bottom of the cabinet.
Read more -

How a Built-In Refrigerator Column Comes Out of Its Joinery
Fifteen appliances in the current line are fitted into cabinetry. Removal is routine planned work — and the thing at risk is the kitchen, not the appliance.
Read more
Tell us the model number and what it is doing.
This article is based on:
- Official manufacturer documentation
- Internal repair procedures
- Technician repair history
- Company quality standards