Maintenance & Prevention
How to Clean a Refrigerator Door Seal, and the Paper Test That Follows
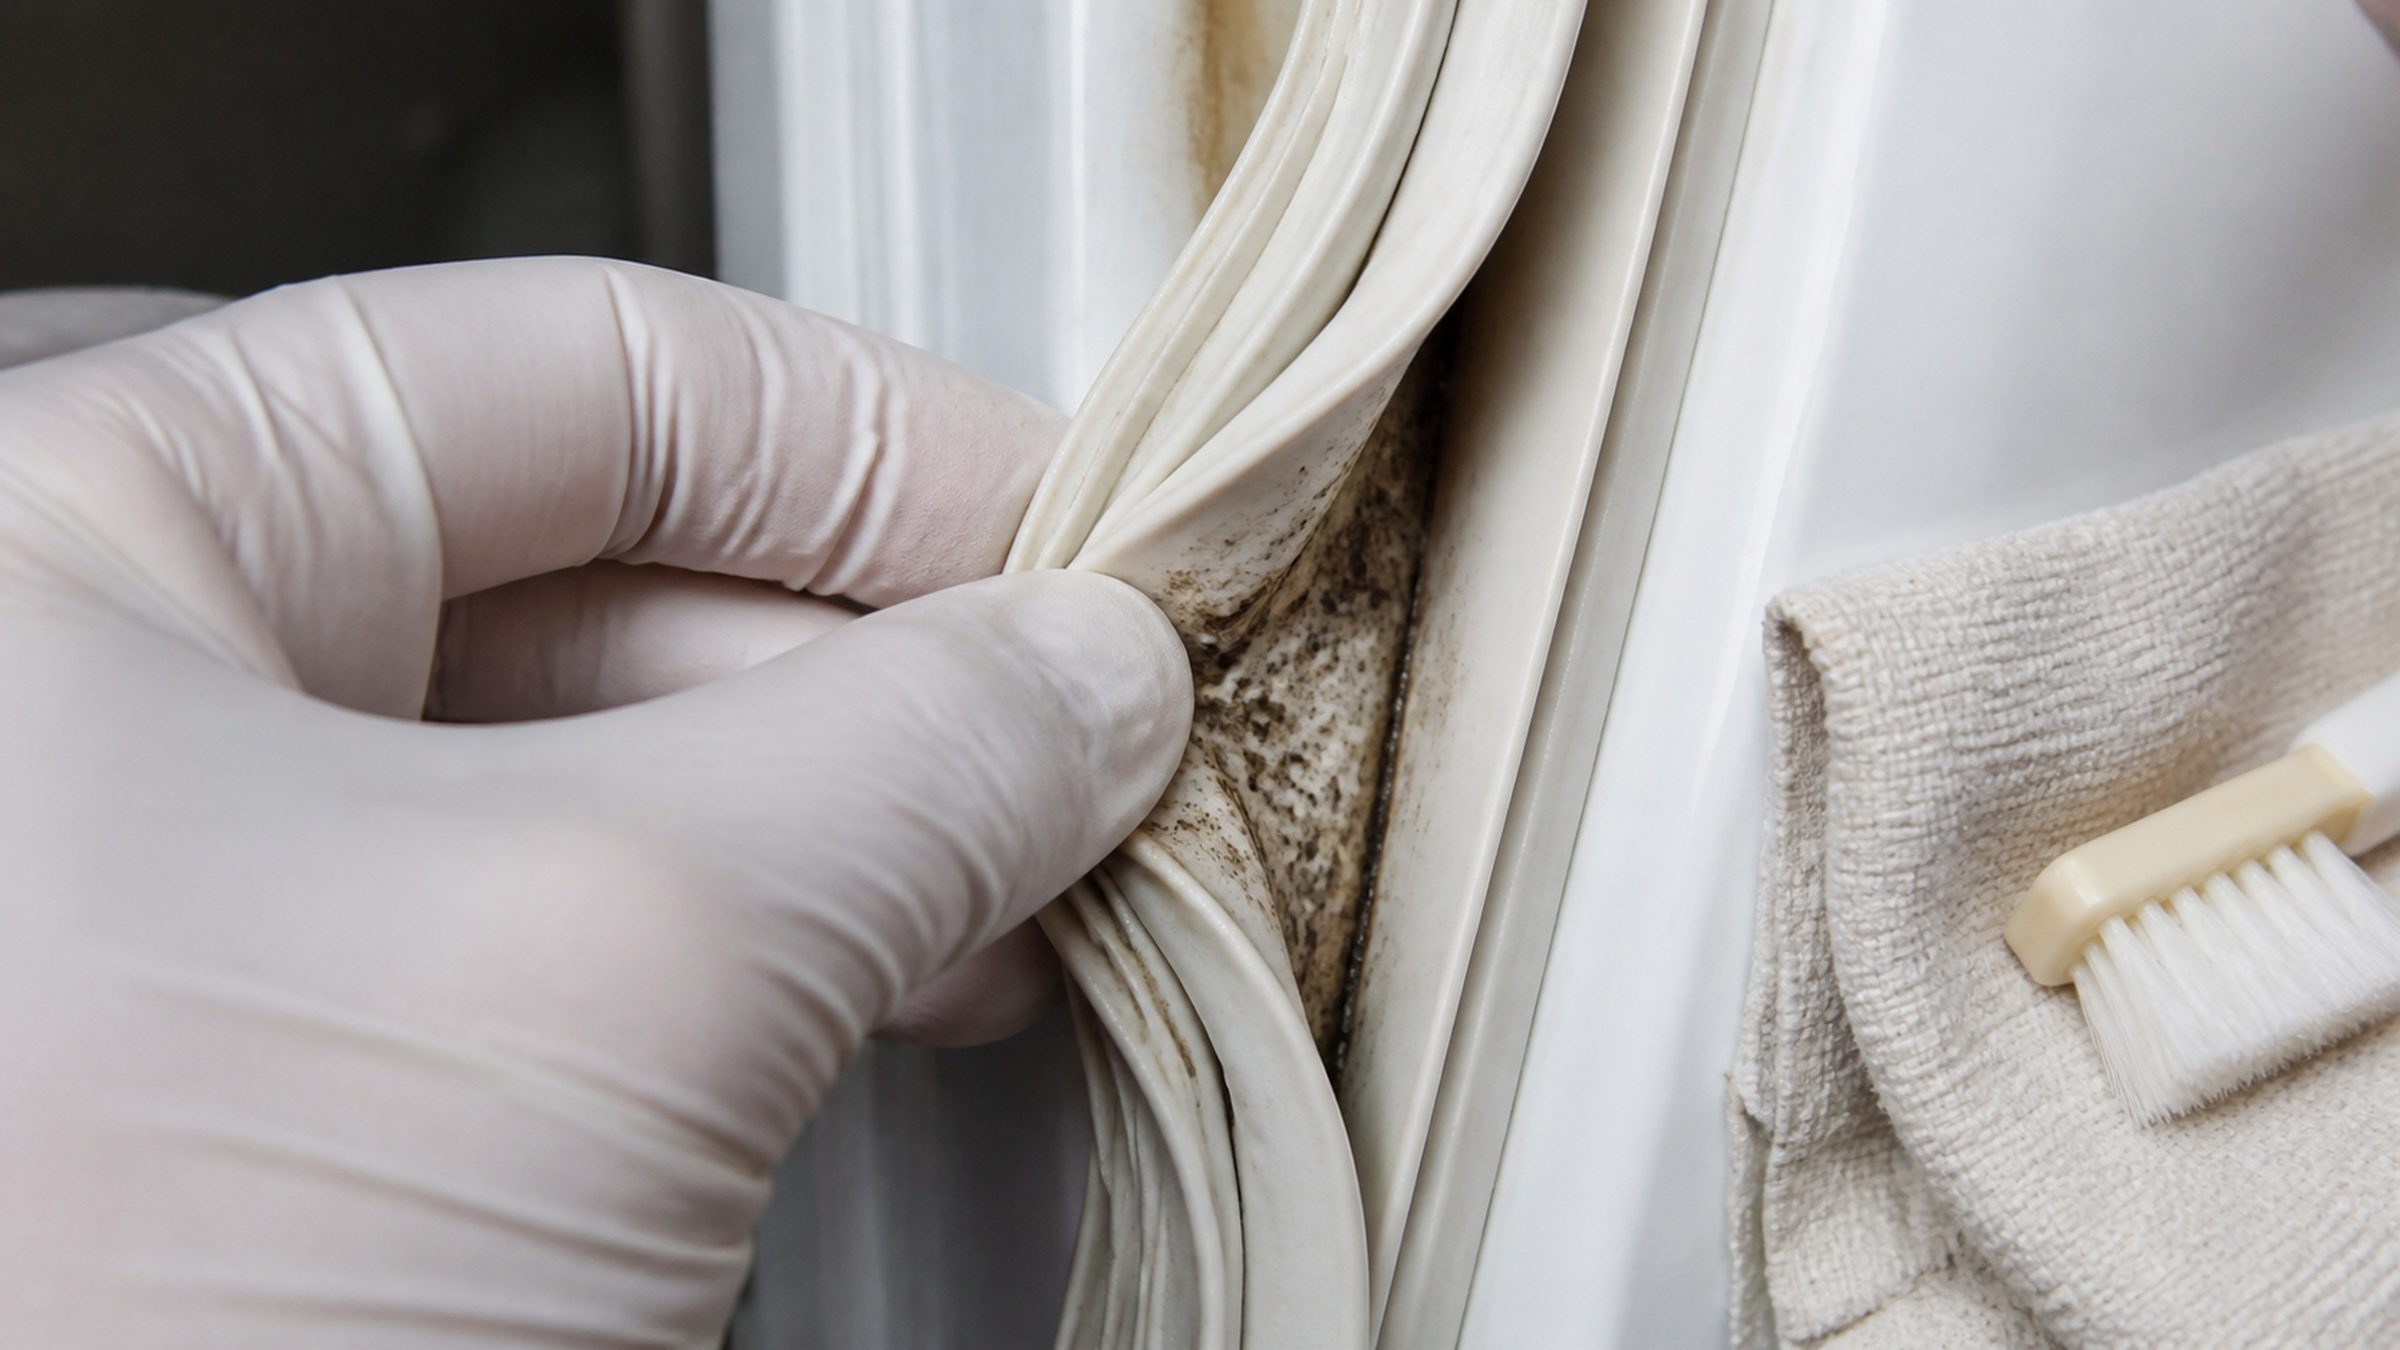
Warm water and a mild detergent on a soft cloth, worked into the folds of the rubber, then dried. That is the whole cleaning method and anything stronger is a risk rather than an improvement: bleach, vinegar in quantity, and solvent cleaners all harden the rubber over time, and a hardened gasket does not seal no matter how clean it is. Pay particular attention to the underside of the fold, where crumbs and damp collect and where mold starts. Then do the part most people skip. Close the door on a sheet of paper and pull it out. It should drag. Do that at six points around each door, corners included, and where the paper slides out freely the seal is no longer gripping there. Corners fail first. A seal that fails the paper test is letting warm air in continuously, which shows up as a compressor that runs longer, ice in places that should have none, and on a wine cooler as condensation on the inside of the glass.
The full guide
Cleaning it takes five minutes
The short version of how to clean refrigerator door gasket folds is dull on purpose:
Warm water, a mild detergent, a soft cloth. Work into the folds of the rubber, where crumbs and damp collect. Dry it afterwards.
That is genuinely the whole method, and the reason to keep it that dull is that everything stronger costs you the seal eventually:
- Bleach hardens rubber.
- Strong vinegar, used regularly, does the same.
- Solvent cleaners do it fastest.
A hardened gasket does not seal, however clean it looks.
The part nobody does
Twelve different people in the search data want to know how to clean a gasket. Almost nobody asks how to test one, which is backwards — cleaning is housekeeping, and testing is the bit that tells you whether the appliance is losing cold every minute of every day.
The paper test. Close the door on a sheet of ordinary paper so half of it is inside, and pull. It should drag.
Do it at six points around each door, and do the corners specifically. Corners fail first, because that is where the rubber is asked to bend and stay bent.
Where the paper slides out with no resistance, the seal is not gripping there.
What a failed seal actually does
It does not announce itself. It costs you quietly:
- the compressor runs longer for the same cold, which is the expensive part of the appliance working harder;
- warm humid air arrives continuously, and in this city that means ice forming where the appliance is not designed to have any;
- the temperature alarm on a freezer keeps finding a reason to sound;
- on a wine cooler, the glass fogs and the zone drifts.
Seal, or alignment?
Worth knowing before you buy anything, because a perfect seal on a door that hangs slightly wrong will still leak.
If the paper drags everywhere except along one edge, look at the door rather than the rubber — particularly on an integrated cabinet, where the door carries your own cabinet front. A heavier front than the hinge was set for is a common and completely fixable cause, and it is one of the more frequent calls after a kitchen refit.
Mold in the fold
Common here, and it has its own answer: warm soapy water, a soft brush, and drying afterwards, because mold comes back to damp rather than to dirt. What it does not need is bleach, and bleach is what most people reach for.
Do the paper test before you decide anything
Cleaning a seal and replacing one are separated by a two-minute test, and it is worth doing before either. Close the door on a sheet of paper and pull. Where it drags, the seal is gripping; where it slides out, it is not — and where it slides out is the diagnosis rather than a verdict on the whole door.
One short section that lets go usually means debris in the fold or local damage, and cleaning fixes it. A whole edge means the door is out of square or the profile has flattened, which is alignment rather than rubber. The bottom edge alone is very often an appliance that is not level. Several places at once is a seal at the end of its life.
Repeat the test all the way round rather than at one point, and repeat it after cleaning — that is how you find out whether the cleaning did anything. On a fully integrated column, do it with your own panel on the door, because the panel is part of what the hinges are carrying.
If it turns out to be a repair
What this leads to, and what it costs
Every job on this site is priced the same way: an on-site diagnostic first, the figure agreed in writing before anybody starts.
-
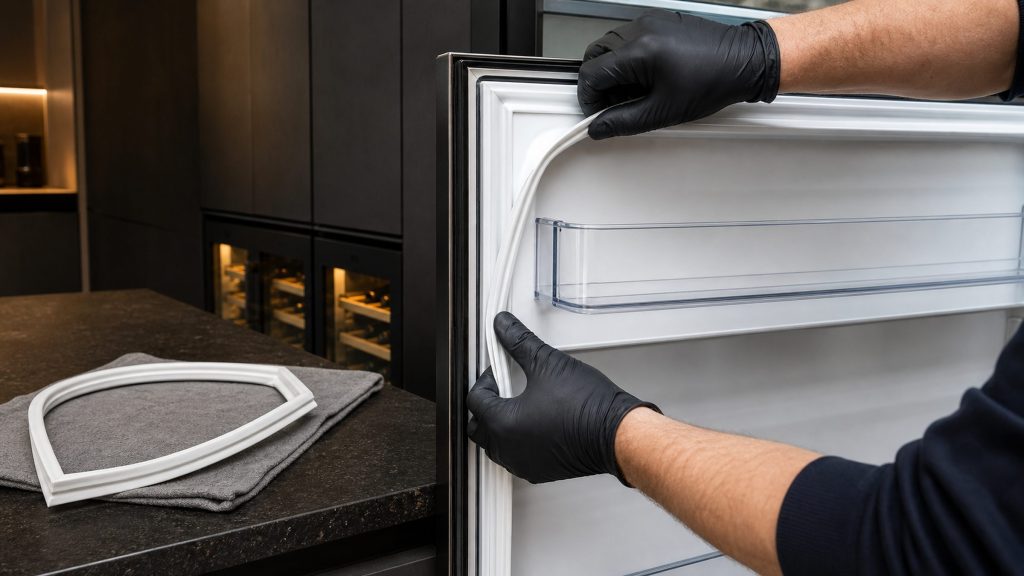
from $155 Door seal replacement
The cheapest thing on a cold appliance that costs real money if it is ignored. A seal that no longer grips is warm air entering continuously, which is a compressor running longer, ice forming where it should not, and a wine cabinet fogging on the inside of its glass.
- A paper test anyone can do before calling
- Seal, then alignment — in that order
- The first thing to check behind condensation
-
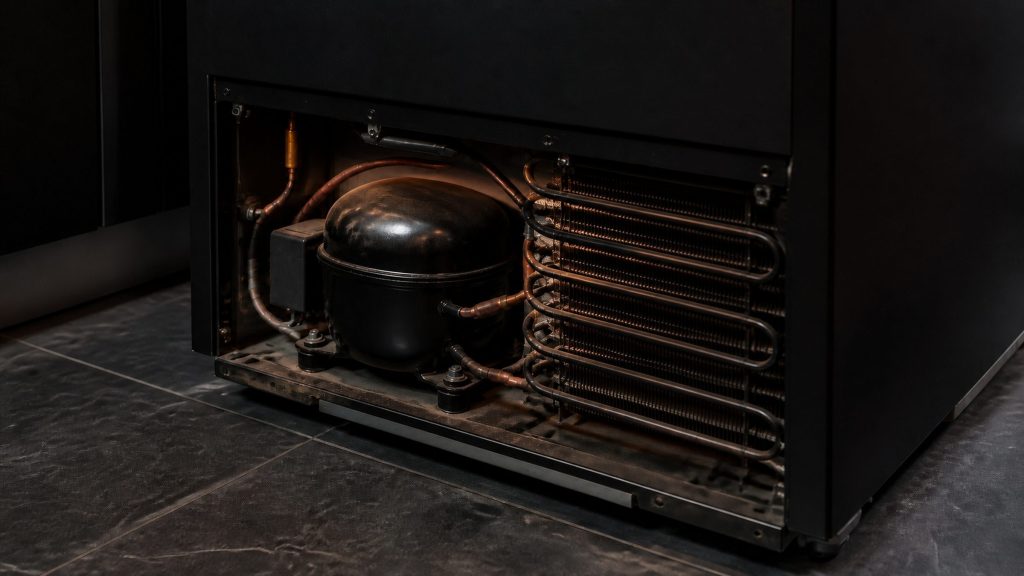
Four causes, and three are free Running constantly
The compressor barely stops. It is one of the maker's six documented troubleshooting rows, and its published causes are mostly things around the appliance rather than inside it.
- Compressor rarely cycling off
- Running harder since summer
- Running long since it was moved or refitted
Questions people ask about this
Can I clean the seal with vinegar?
A weak solution occasionally will not hurt, and it is popular because it deals with mold. Regular use of strong vinegar hardens rubber, and a hardened seal is a seal that no longer grips. Warm soapy water does the same job with none of that.
How do I know if my door seal is bad?
The paper test. Close the door on a sheet of paper and pull it out — it should drag noticeably. Try six places around each door and check the corners specifically, because that is where seals go first.
Does a bad seal actually cost anything?
It costs run time, which costs compressor life; it costs stable temperature, which is the whole purpose of a wine cooler; and it produces ice where the appliance is not designed to have any. It is the cheapest thing on a cold appliance and the one with the best return.
Should I put petroleum jelly on it?
No. It attracts dirt and it degrades rubber over time. If a seal is sticking rather than leaking, a very light wipe of a silicone-safe product is the trade answer, and a seal that has hardened enough to need help is usually a seal to replace.
Maintenance & Prevention
More guides like this one
-
How to Clean a Refrigerator Drain Hole Without Damaging Anything
The water on your rear wall is supposed to be there. It is supposed to leave, too — and when it stops leaving, normal becomes a puddle in the bottom of the cabinet.
Read more -
How to Clean a Liebherr Fridge — Inside, Behind, and the Part That Matters Most
Most cleaning articles start with the shelves. The maker's own troubleshooting starts with ventilation, which tells you the order this should really go in.
Read more -
How a Built-In Refrigerator Column Comes Out of Its Joinery
Fifteen appliances in the current line are fitted into cabinetry. Removal is routine planned work — and the thing at risk is the kitchen, not the appliance.
Read more
Tell us the model number and what it is doing.
This article is based on:
- Official manufacturer documentation
- Internal repair procedures
- Technician repair history
- Company quality standards